Showing posts with label experiment. Show all posts

Wednesday, March 19, 2014

Conversation heart experiment

Her question was simple – what will happen to the leftover Valentines candy (conversation hearts) if we put them in different liquids? And so after Lauren asked that, we went about answering that question!

We gathered some empty cups first and then decided on a few liquids, mostly based on what we had on-hand! We settled on water, soda, vinegar, hydrogen peroxide and rubbing alcohol. They were all familiar with water, soda, and vinegar, but not the rubbing alcohol and hydrogen peroxide. With the alcohol and peroxide, I explained that it’s sometimes used to kill germs and is sometimes in hand sanitizers.


After settling on what went into the bottles, we made some predictions. I explained what a hypothesis is, then asked my kiddos to think about what might happen. It was great listening to Lauren and Jake really discuss what they thought would happen. A few of the predictions weren’t on topic, but most showed they were really thinking about the possibilities.

We filled 5 of the cups with the liquids, then left one empty for our “control” bottle. I pointed out it’s a good idea to have a reference for our candy heart experiments. Leaving the hearts in an empty cup would remind us what they normally look like.


By this point, the kids were dying to add the conversation hearts to the bottles. We added about 3 or 4 hearts to each cup, taking a moment to watch for any reactions. Once all of the cups were filled, we observed our candy heart experiments once more.


A few items they noticed:

“Look! Tiny bubbles are coming up from the hearts!” {Right away in the vinegar}
“Hey, some of the hearts are floating now!” {After an hour or so in the water}
“What’s all that extra stuff floating around in there?” {Commenting on the extra sediment that in the rubbing alcohol towards the end of the day}
“They melted the fastest!” {The hearts we put in the soda}
“These didn’t really do anything. Can I eat one?" {The bottle with just air and hearts}


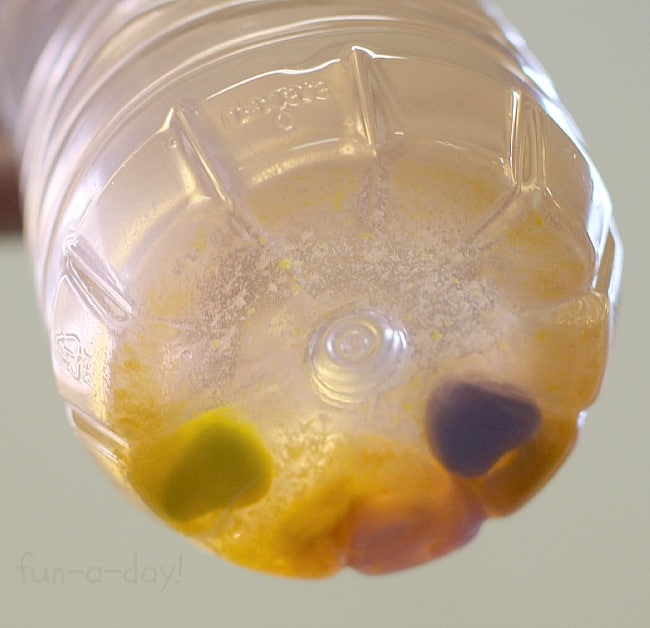
Late in the evening- our results


Currently, the cups are still on our counter because my kiddos continue to comment on how the liquids changed colors and what happened to the hearts. We’ll be adding more hearts to the liquids again this week because they got such a kick out of the results. We may try adding more hearts to each bottle to see if that makes any difference!


Love learning, science-y projects like this!

Wednesday, February 5, 2014

Experiment morning with my girlie

My girlie is BUSY so I try to find lots of things to keep her little mind occupied and learning. So when we had nothing going on one day last week, I pulled out the muffin tins, added some baking soda to each cup, had her drop a few drops of food coloring in each one, and then gave her a cup of vinegar to let her go to town:


I pulled out an eye dropper so she could drop little amounts of vinegar in the baking soda, prolonging the eruptions (and fun!).


Super simple, cheap and easy to clean up. And perfect for her short attention span as well :)

Thursday, May 9, 2013

GLITTER slime!

We love flubber, oobleck and slime around here (here's some more slime activities here and here). And with two girls in the house, you can imagine how exciting it was when I announced that we were making GLITTER slime that morning!

So. We got out our play sheet, some bowls and utensils and these ingredients:

 
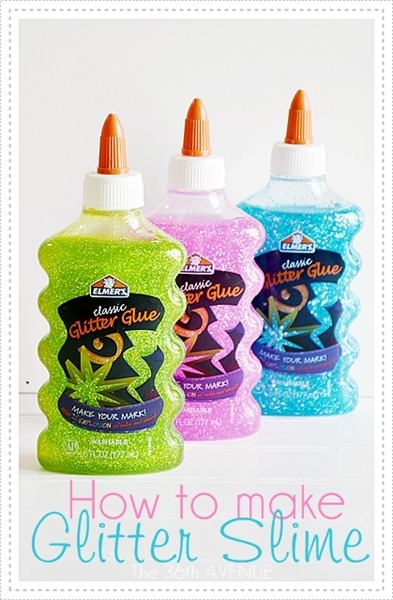
1 Elmer’s Glitter Glue
1 Cup Water
1 tsp. Borax
1 Tb Water
Directions:
1. Mix 1 tsp. Borax and 1 Cup water together (you can find the Borax in the laundry section):
 
2. Have your kiddos empty the Glitter Glue into a bowl:


3. Add 1 tbls. of water to the glue and mix it together (this will help the glue to become a little more flexible).
4. Then pour the Borax mixture inside of the bowl, using little hands to combine the glue and the mixture together:


5. (Don’t leave the slime in the water mixture too long since it will make the slime too hard. Finish mixing it in your hands). When it's all mixed, it will look like this!


Of course, it's not just about playing with the slime. It's about adding water, and using all kinds of utensils and mixing the colors together to really experience the fun!


And fun we had! (Even Yeo and I played with it a bit!

Friday, April 19, 2013

Clean Mud activity

I found this idea on... you guessed it, Pinterest! and decided to share it since it was LOTS.OF.FUN!
 
First I got three bars of soap and grated them (Jake helped me a little bit when the bars were whole and there was no chance of hurting himself).
 

Three bars of shredded soap looks very similar to shredded cheese... it smelled awesome but it didn't taste so hot (just ask Megan!):


After the soap was shredded, we got a roll of toilet paper and painstakingly shredded it into tiny little pieces.
 

Twenty hours later, we had a bowl of shredded toilet paper.


This is where the fun began people!

We added the soap to the toilet paper,


and then added some very warm water to it (to melt the soap),

 
creating this super squishy mixture:


Jake and Megan had a wonderful time mixing it, measuring it, rolling it, squishing it...


Seriously, I gave them some utensils and they were good for an hour of so :)


I'll be honest... it was messy. And time consuming. But TOTALLY worth it... it was an awesome sensory learning experience for them and maybe, just maybe, I'll attempt it again :)